Copyrights and NFT
The subject of copyrights is crucial in every field. After all, there is nothing worse than knowing that someone has appropriated the work to which we have devoted days and nights of blood, sweat, and tears. A lot of people might think that if something is NFT, you can just save it as a picture and use it on pages for marketing purposes or as your profile picture on Twitter. Is it that easy?
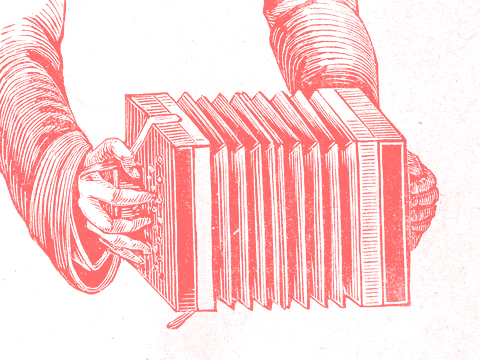
Music artists and NFT – why does it pay off?
We often think that being an artist is a great business. Passive income with royalties, crowds of fans in front of the stage, sitting in the studio, and making music in a good atmosphere. Work hard, play hard as the saying goes. The reality, however, in most cases differs from such a picture. This is due to the fact that the production of high-quality music is expensive and the music industry itself is pretty monopolized.
Are you an artist? Create even better experiences and sell even more with Mateico solutions
Most people, including artists at the forefront, are aware that the life of an artist is not a path full of roses. Of course, when looking at the biggest stars, we can see that they are immersed in luxury, but we must remember that Hollywood celebrities are just the tip of the iceberg in this professional group. And in every field, there will be those who earn an incomparable amount compared to the rest of the people.